How to Confidently Bring Music and Movement into the Montessori Classroom: Rhythm and Beat

““The secret of good teaching is to regard the child’s intelligence as a fertile field in which seeds may be sown, to grow under the heat of flaming imagination.”
— Maria Montessori
Bringing Music and Movement into the Montessori Classroom
Hello; I’m Maureen Harris and the other person you will meet in this post is my daughter Leah. We have both been involved with Montessori for most of our lives and have had so much fun creating music and the blog you are about to read. This blog is the second in a series of three posts. The first, Master Your First Song explored the basics of music and song. In this blog, we will dive deeper into Rhythm & Beat and explore the world of percussion instruments, both non-pitched and pitched. The last blog, Do You Know Your Do Re Mi? will introduce solfege and the beautiful Montessori bells.
How To Begin
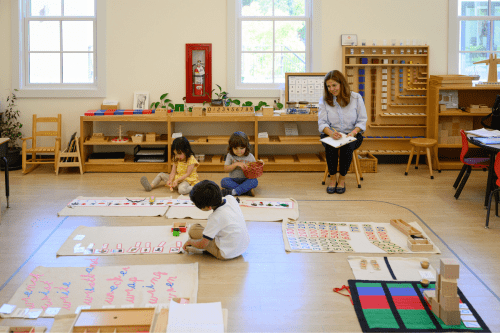
Maria Montessori believed in the accessibility of music to all children. She embodied music in her approach with a variety of stimuli. The ranges of musical activities that are possible for the Montessori child, from movement and music to the bell sensorial materials are outlined in this blog.
Remember music has been in the hearts of humanity since the beginning of time with the power to soothe, heal, and communicate profound emotions. It is the rhythm of life, with the power to uplift whole nations. Take a deep breath, jump right in, and trust that music will sustain you as you share this musical gift of life with the young child.
Silence Game
The first step in exploration of music is the experience of silence. Silence is defined as the absence of sound and a motionless environment. From there, the introduction to and recognition of the least stimuli is the basic principle for the training of the senses moving on to the reaction to external stimuli.
The next step is to make a distinction between sounds beginning with the larger sounds and greater differences through to the almost imperceptible of sounds. The progress proceeds to the different timbres of sounds from environmental sounds, to the human voice, to musical instruments, and then to distinguishing specific tones on the musical scale.
In the busy active existence of life, the opportunities to experience silence are indeed extremely rare. One needs to consciously create moments of silence and share these moments with the child. Sitting quietly with eyes closed, breathing quietly, inviting the child to do likewise, and observing the sounds created by every tiny move, a sigh or moving the foot just a little for comfort, all make noise. The child becomes aware of the differences between quiet, supposed silence, and absolute silence, where nothing, absolutely nothing moves. Gradually with the settling of complete silence on the part of the child, the external environmental sounds such as the chirping bird or the ticking clock become more accentuated. To develop one’s senses, it is necessary to develop the ability to evaluate the smallest differences in various stimuli and continue to practice and sharpen the senses.
What is Timbre?
Sitting in a circle with their eyes closed, each child can take a turn saying their name while the other children listen carefully. The quality that makes voices easily recognizable is called timbre.
To get us all in the mood, we are going to start off by learning a fun movement song that the children love because of the associated actions and movements. It’s a catchy tune and in the best vocal range for a child’s singing voice.
A Quick Study: I’m in the Mood for Clapping
Supporting Videos:
What a fun ice breaker song and so easy to learn!
Now, we are going to explore the world of musical instruments—how to build your first instrument, how to enhance music in your Montessori classroom, and how to share the joy of music with your students.
Percussion Instruments
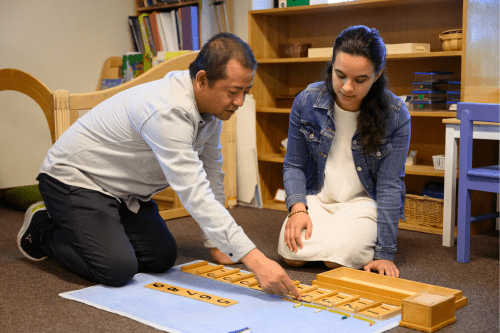
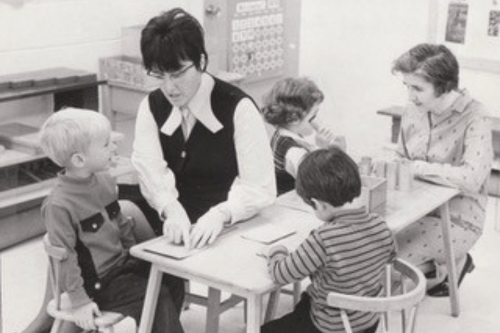
Percussion playing comes in many forms and shapes—from body percussion, to non-pitched instruments, to pitched instruments, not to mention the shiny, beautiful sounding Montessori bells. Percussion instruments are the most suitable children’s instruments and are systematically introduced through live performance wherever possible. Parents who have knowledge or experience of and with percussion instruments often make the best demonstrators. When presenting these instruments, do so one at a time, in order to provide the children with the opportunity to become familiar with the name, unique timbre, and correct playing technique of each instrument.
When teaching the child to use instruments it is important to match the instrument to the size of the child’s hand. For example, small egg-shaped (and sized) shakers are ideal for the palm of a small child and the Montessori bells are readily carried with both hands and struck by a mallet that is easily used by one so young.
Introducing Percussion Instruments
Supporting Video:
When using instruments, begin with non-pitched instruments and demonstrate correct handling and use. Place the instruments in a resting position on the floor. The teacher will raise their hand to give the signal for each child to pick up the instrument immediately in front of him. The instruments are performed for a short time, perhaps one verse of a song, or 4 phrases in instrumental music. At this time, the teacher will lower their hand giving the children the signal to place their instruments in resting position. Next, each child passes their instrument to the child on their right, and the sequence is once again repeated, beginning with the teacher giving the signal to pick up the instruments once again.
When using percussion instruments with a group of children, first ensure that the song or story being sung or told is familiar to the children, and that each child is confident with the correct playing technique for the instruments being used. Ensure that hand signs for starting and stopping and for loud and soft have been established and practiced before beginning a class. To avoid the inevitable request of all children wishing to play the same instrument immediately, I suggest reassuring the children that the instruments will be systematically moved around the class during the lesson.
The primary goal is not particularly performance of the music so much as enjoyable learning experiences for the children. The music sessions should be creative and fun, with an emphasis on improvisation and freedom to explore. Each child should feel safe and secure in knowing that their suggestions and creative expressions are welcomed and appreciated by everyone. Once again it is the Montessori educator who provides the child with every opportunity for creative expression and thought.
Body Percussion
This can be so much fun as the child improvises with various body actions such as, clapping, snapping, and stamping. The child will attempt to imitate your clapping, and finally learn to clap in time with your tempo. Further exploration leads to different tone colors as various parts of the body are used.
Check out the supporting videos below, based on the Mexican Hat Dance. During the piano music, encourage students to share instruments with the next person or, if using body percussion, to further explore other body percussion.
Supporting Videos:
Non-pitched Instruments
Non-pitched instruments are composed of different materials such as metal, wood, and skin. For example, finger cymbals and sleigh bells are metal instruments. Rhythm sticks, maracas, and woodblocks are made of wood. Bongo drums and hand drums are made of skin. These instruments are from all around the world and are excellent tools for introducing cultural themes. With young children, each instrument should be introduced individually with timbre recognition and names of instruments discussed. Later a three-period lesson can introduce more instruments.
Making Your Own Instrument
The Practical Life area of the Montessori curriculum is a fun place to use music. There are so many creative ways in which to add music to the Practical Life area, such as:
- bottles filled with different levels of water which produce different sounds
- shakers holding buttons, paper clips, or gravel
- inverted flower pots transferred into colorful musical bells
- a xylophone made up of progressively lengthening pencils
- various drum-like containers struck by hand or with a mallets
Concluding Thoughts
I hope you enjoyed this post and I look forward to seeing you on our next blog, Do You Know Your Do, Re, Mi?
And, if you haven’t, be sure to read Part 1 – How to Confidently Bring Music and Movement into the Montessori Classroom: Master Your First Song.
About the Author
 |
Maureen Harris, MEd, is the director of Montessori Mozarts (Canada) where she teaches courses in Montessori music and movement and the Sensorial Bells. Formerly, she was a Montessori teacher, Montessori teacher educator, principal, and head of school. As recipient of the AMS research grant award, her PhD work assessed “Culturally Relevant Indigenous Curriculum in a Montessori Learning Environment '' with the Maasai in Tanzania. She is AMS-credentialed (Early Childhood) and honored with the Canadian Prime Minister's Award for Excellence in Teaching. Contact her at mharris1280@gmail.com. |
Interested in writing a guest post for our blog? Let us know!
The opinions expressed in Montessori Life are those of the authors and do not necessarily represent the position of AMS.